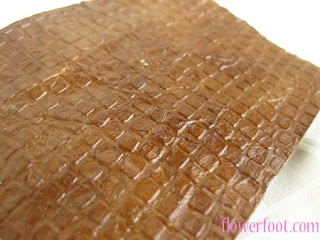
In yesterday's post, I showed you a "leather" wallet that I created for a friend's birthday. You can see that post HERE. The look of leather is really simple to achieve. All you need is brown cardstock and a dark brown ink. For this project I used Chocolate cardstock from Close to My Heart and Vintage Photo Distress Ink from Ranger. This technique uses water on cardstock which causes the paper to curl and shrink slightly. It is helpful to have a Cuttlebug, Wizard or Sizzix to flatten the paper.
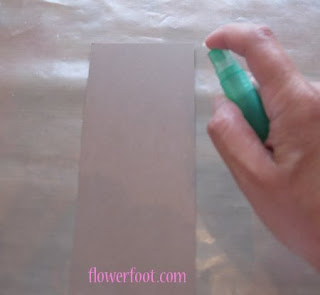
1. Spritz cardstock lightly with water. Do not saturate.
2. Crumple and carefully unfold cardstock. Repeat until desired distressed effect is achieved.
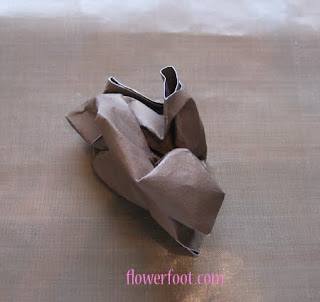
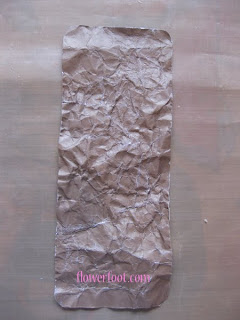
3. If you wish to emboss, now is the time. Using your Cuttlebug or other machine, emboss cardstock. Once embossed, crumple and unfold cardstock.
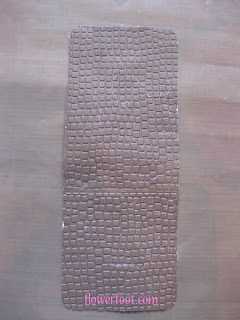
4. Allow cardstock to dry.
5. Sponge a dark brown ink over your cardstock. Ranger’s Vintage Photo Distress Ink was used here. Black Soot Distress Ink was sponged on some of the edges for further detail.
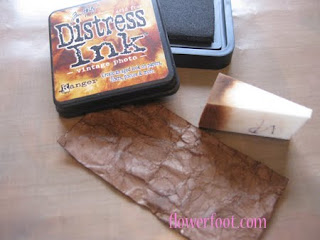
6. In order to flatten your cardstock, run cardstock through Cuttlebug again between two plates or place under a flat, heavy object (yellow pages anyone?).
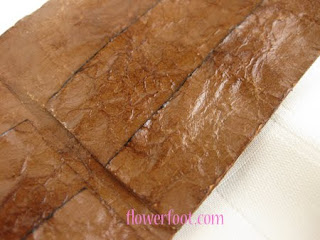
7. To achieve the shiny leather look, paint with a light coat of Modge Podge Gloss-Lustre and allow to dry.
8. Use for your project.


WOW that is too cool!
ReplyDeleteThanks for your kind words and for taking the time to email me Cibele!
Wow! Is this ever really cool! What a wonderful tutorial! Pure genius! Thanks so much for sharing! Best, Curt
ReplyDeleteWhat a great tutorial, thank you! Your wallet for Jim is amazing - what a terrific gift!
ReplyDeleteThis is great, thanks!
ReplyDeleteThis is a great thing-and without that machine you could texturize with anything around-just put it on the wet wrinkled stock,then a phone book, jump on it or at least put your weight on it to 'emboss' the design, and a pretty good effect could be achieved-this would be an interesting thing to try with fun foam too-but you would have to more or less cut the design in by stamping it very had or something-I love the way these tutes inspire other ideas! Thanks!
ReplyDeleteThanks for sharing, I love the leather look! ~Diane
ReplyDeleteWhat a COOL idea!! I LOVE IT! I posted a link to your tutorial on my blog!
ReplyDeletehttp://herhobbyaddiction.blogspot.com/2009/09/leather-on-cheep-love-it.html
Can't wait to browse your site and see what else you have!
I have used this technique before, but never considered you could get additional pattern on the paper. I love that! What a brilliant idea to run it through the Cuttlebug. Makes me want to buy one just so I can create a ton of "leather" for collage projects. Thanks for the tip!
ReplyDeleteGreat tutorial. Thanks for sharing!
ReplyDeleteJust wanted to let you know I used your treatment and featured it on my blog. You can see it here
ReplyDeletehttp://mydeartrash.blogspot.com/2010/04/faux-leather-finish.html
Thank you so much for the excellent tutorial.
Hi Cibele, what a great card, it sure is a winner, would you tell me what the name of the embossing folder you used is? Thanks so much for sharing because I will definitely use this technique.
ReplyDelete